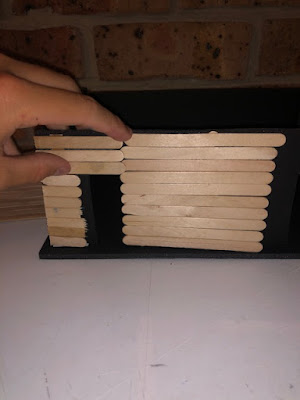
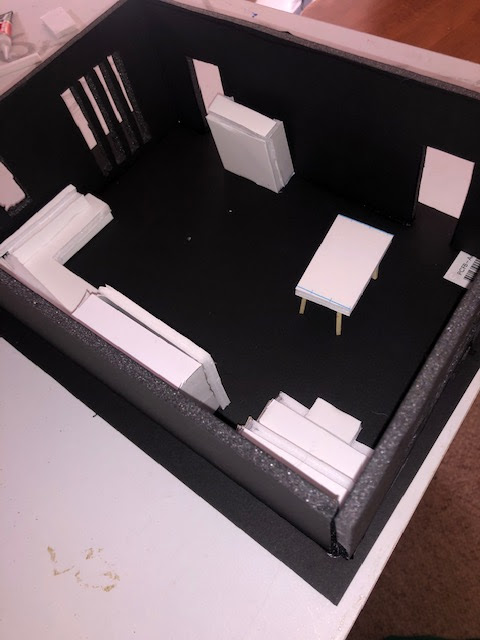
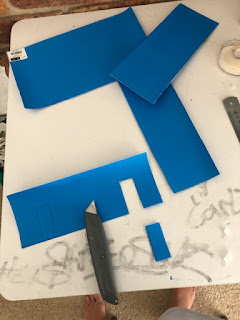
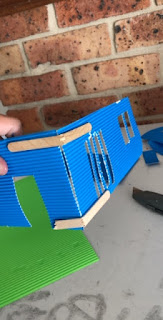
Throughout week 6 and week 7 I bought more materials to build my living space from, as well rendering my 3D model o Fusion 360. By watching the tutorials videos on Moodle I constructed my 3D model of my living room. First I followed the videos exactly to learn and memorise the process. Step by step i watched the Russels tutorials baying close attention going back and forth so I wouldn't forgot the technique and shortcuts being made.
This was progress of my constructed practice model. Throughout the tutorials I noticed that when i finished a sketch for a particular side and clicking the button 'Extrude' I accidentally was selecting all the checkouts and not leaving the top and right side. Hence the corners were crossing over each other and not interlocking smoothly, as you can see in the pictures above (right and left corners) and below (left and right sides).
I learned from this mistake quickly though and tried my model again following the instructions completing it correctly. Once I finished my practice model correctly i was ready to attempt my model of my living space. I knew this was going to be difficult noting my living space had doorways and windows to include. With the skills and steps i just learned i slowly worked on each wall using the same principles.
To create the windows and doorways, I used the rectangle tool and drew the rectangle in the position I wanted it, this is the same technique I used to sketch the checkouts to interlock the model. Once the sketch was finished i just had to make sure I didn't select the feature when extruding the model.
Around this stage of the rendering, i noticed i had not started with a bottom piece to form up the sides on. I have no idea how i forgot this first step, but i knew if finished off one more wall i could draw the bottom on and then finish the last wall with the guide of the base.
The 3D model of my living room was finally taking shape and i was surprising myself with my memory as i continued to create. Drawing the bottom on was really difficult and slightly annoying due to the fact that this whole problem could of been avoided. The issue i faced was drawing the rectangles on the outside of the main base drawing and to align them with the opposite spaces of the checkouts, so that when i increased the thickness to 3mm it would slot into the right joints and not cross over and hit.
This was my completed 3D model, ready to be turned duplicated, aligned spread out evenly and ready to be put into Adobe Illustrator and made into a laser cut file.


